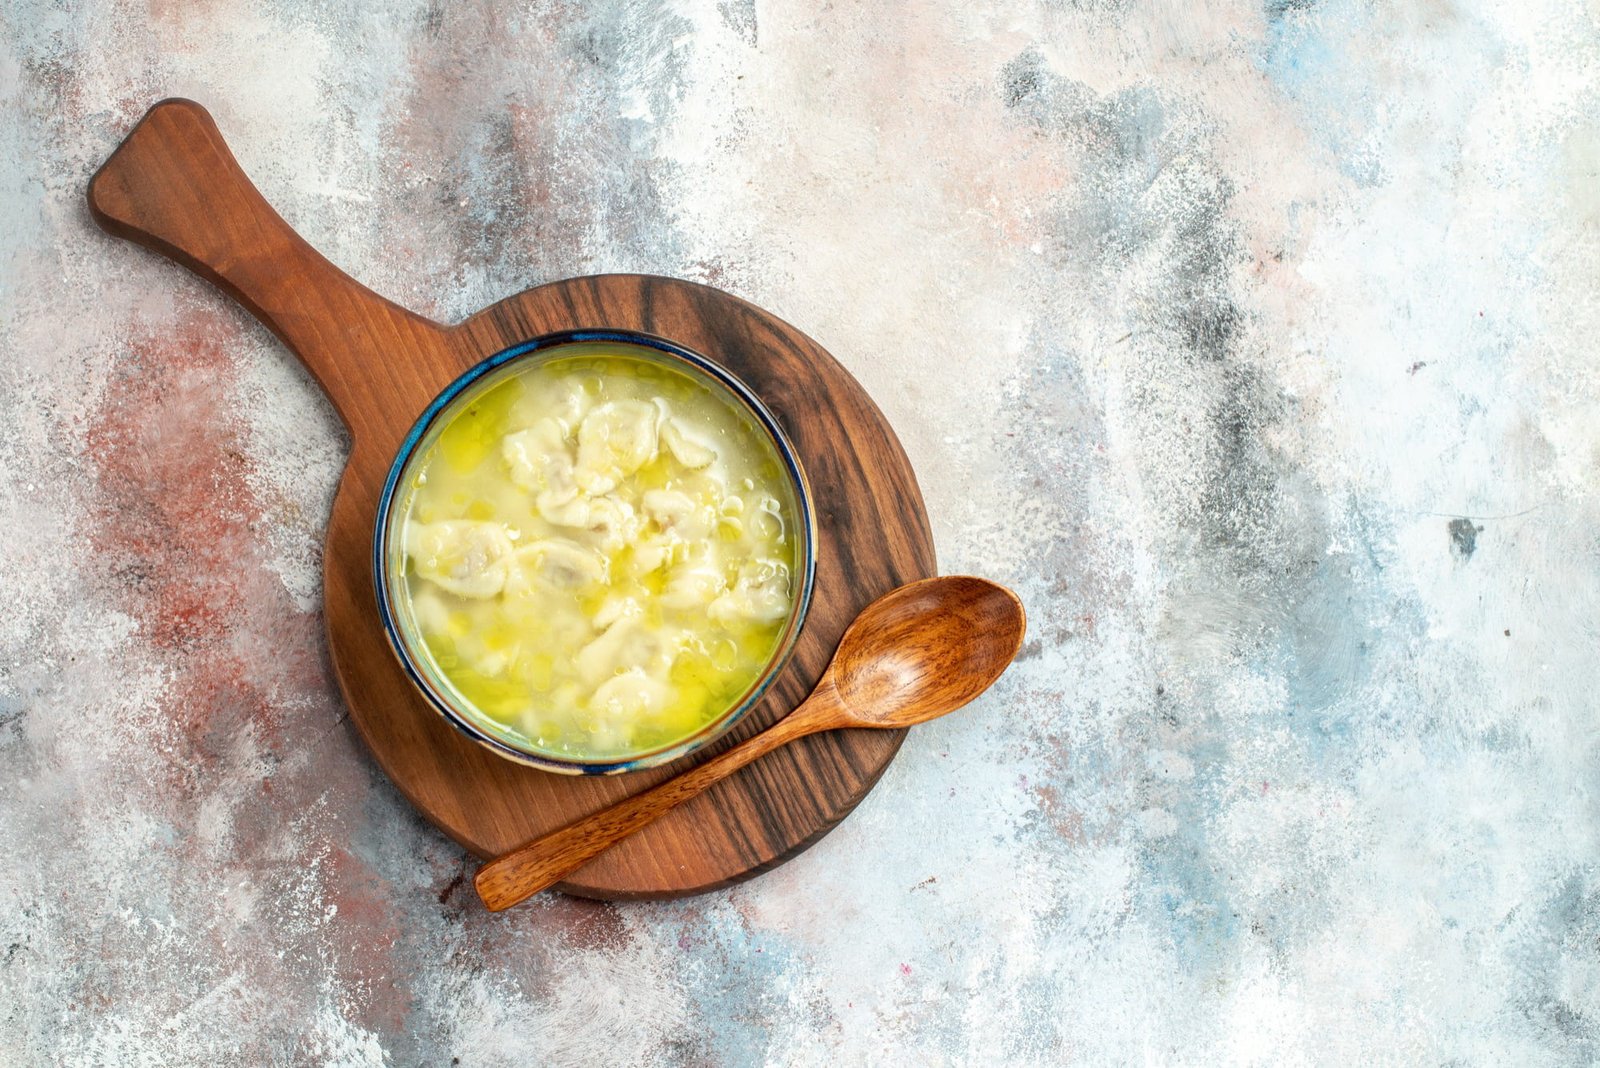
Learn the art of making pure, golden ghee at home. This step-by-step guide covers everything from choosing the right butter to achieving that perfect nutty aroma and clear, liquid gold.
Introduction
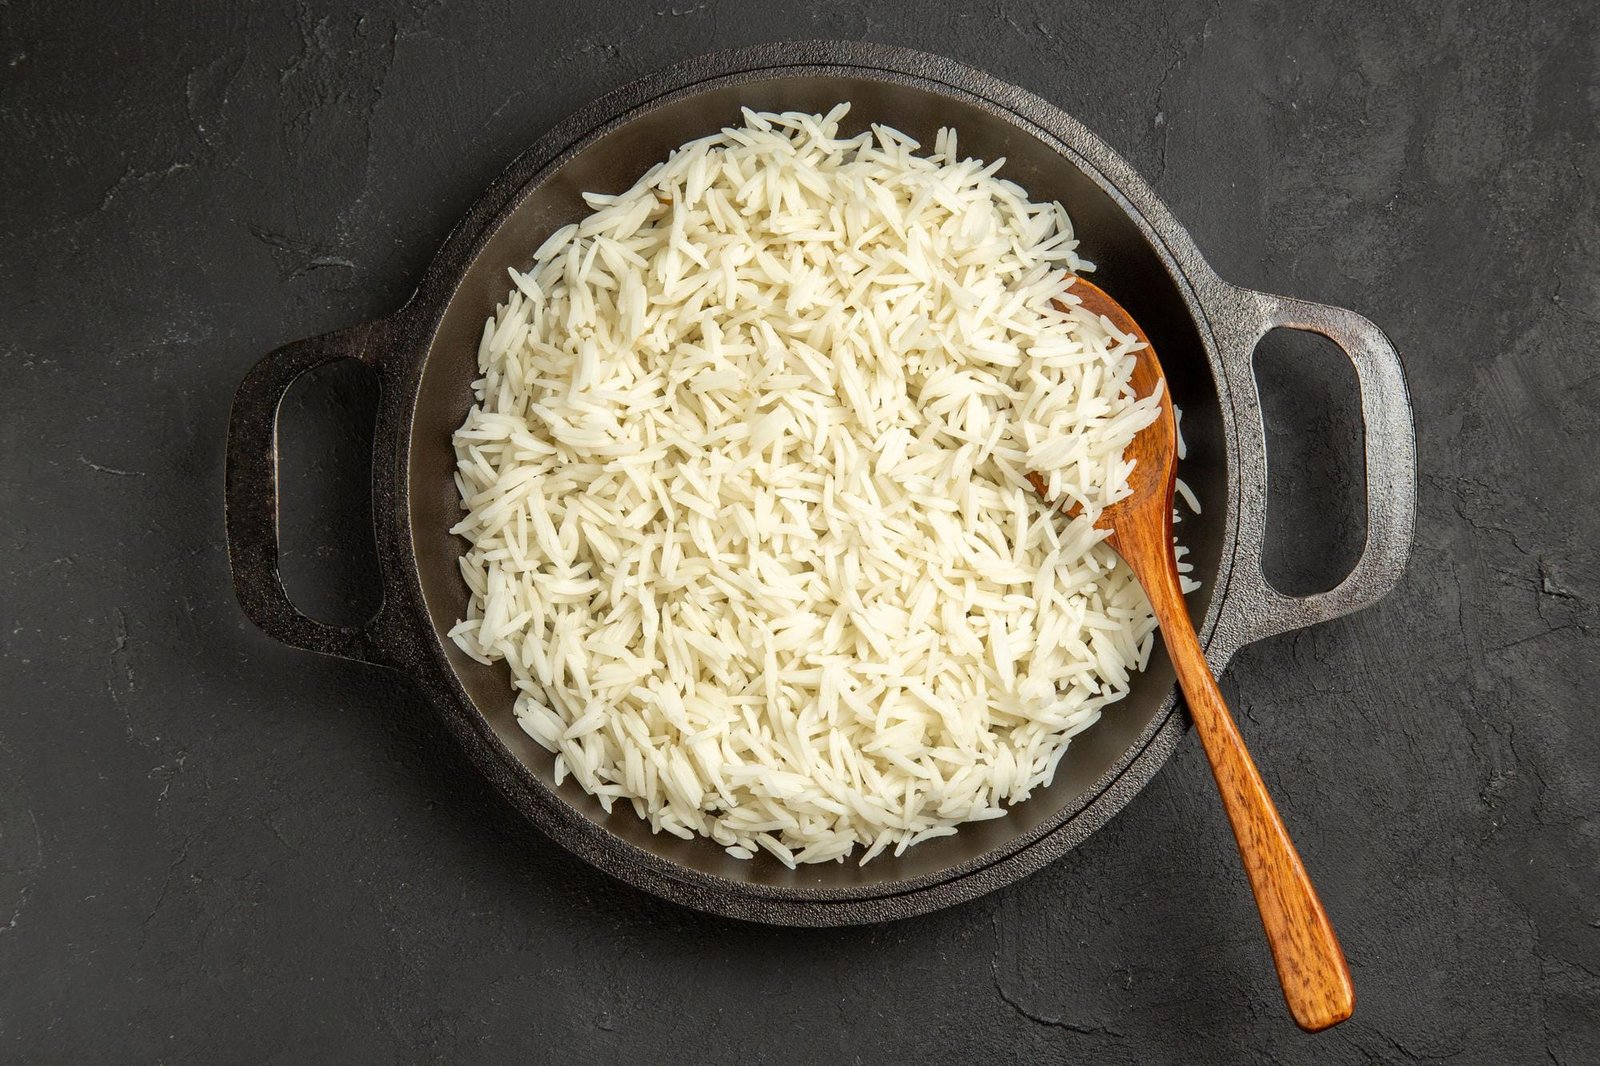
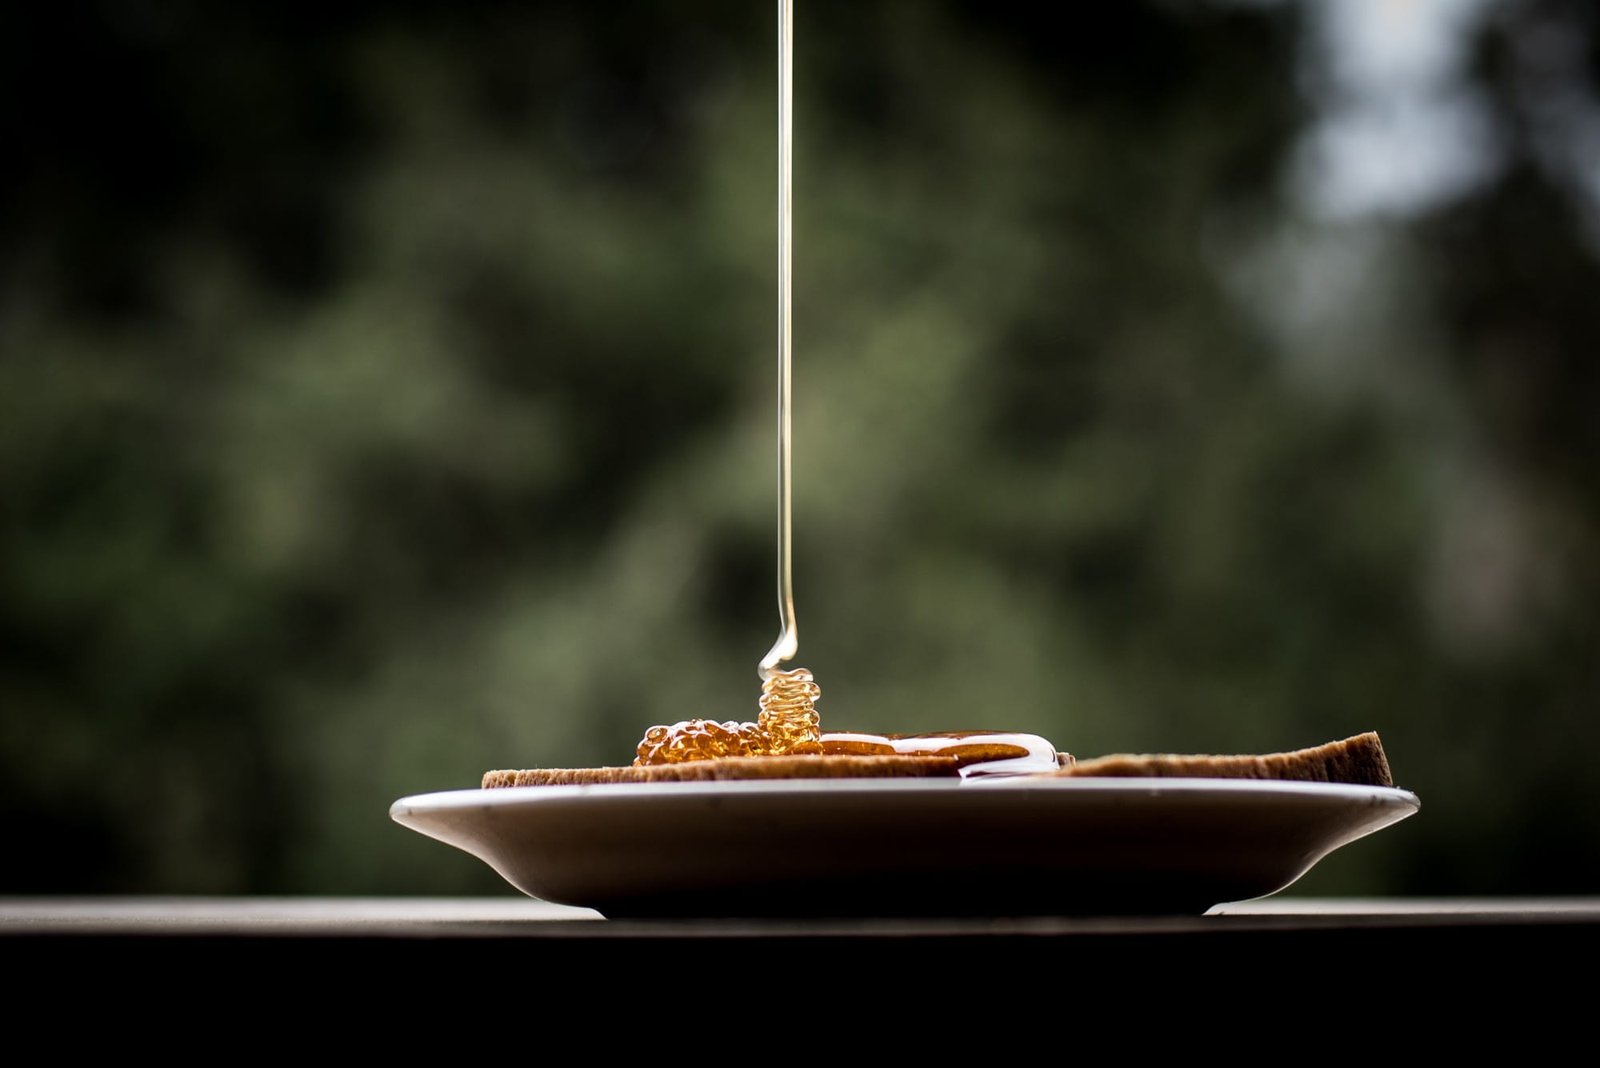
Ghee is liquid gold in a traditional kitchen. It’s used for cooking, finishing dishes, and even drizzling over hot rice or dal. It adds richness, depth, and a nutty aroma that no other fat can replicate. And best of all, it’s incredibly easy to make at home.
Making ghee at home is a tradition that has been passed down through generations. It’s a simple process, but doing it right makes all the difference. Whether you’re new to making ghee or looking to perfect your technique, this guide covers everything you need to know.
I’ve made ghee more times than I can count. Through trial and error, I’ve learned what works and what doesn’t. Now I’m sharing all my tips and tricks so you can make perfect, golden ghee at home.
Why Make Ghee at Home?
Making ghee at home is surprisingly simple and rewarding. You only need one ingredient — unsalted butter — and a little patience. The process takes about 20 to 30 minutes, and the result is a pure, preservative-free, and incredibly flavorful ghee.
Homemade ghee is also more affordable than store-bought ghee. And when you make it yourself, you know exactly what’s in it — just butter, nothing else. No added preservatives, no artificial colors, no unnecessary ingredients.
Ingredients
- 500 grams (2 cups) unsalted butter (preferably organic or high-quality)
- Optional: A few curry leaves or a pinch of salt for extra flavor
Step-by-Step Instructions
Step 1: Choose the Right Butter
Start with high-quality unsalted butter. The quality of the butter determines the quality of your ghee. Organic or grass-fed butter is ideal — it has a richer flavor and a higher nutritional profile.
Avoid salted butter, as it can make the ghee salty and affect the flavor. If you only have salted butter, you can still use it, but be mindful of the saltiness.
Step 2: Melt the Butter
Place the butter in a heavy-bottomed pan over medium heat. Let it melt completely. Once melted, the butter will start to separate into three layers — foam on top, clear fat in the middle, and milk solids at the bottom.
Step 3: Simmer and Skim
As the butter simmers, you’ll notice a white foam forming on the surface. This is the milk solids rising to the top. Use a spoon to skim off the foam and discard it.
Continue to simmer over low to medium heat. The butter will start to bubble and change color. The milk solids at the bottom will begin to turn golden brown, and the ghee will develop a nutty aroma.
Step 4: Know When It’s Ready
The ghee is ready when the bubbling stops, the color turns a clear golden yellow, and the milk solids at the bottom are a light amber color. The aroma will be distinctly nutty and rich.
Be careful not to overheat it — burned ghee has a bitter taste and is not pleasant. This process usually takes about 15 to 20 minutes.
Step 5: Strain and Store
Once the ghee is ready, remove it from the heat and let it cool slightly. Strain it through a fine-mesh sieve or cheesecloth into a clean, dry glass jar. This removes any remaining milk solids.
Let the ghee cool completely before sealing the jar. Store it in a cool, dark place — it doesn’t need refrigeration and can last for months.
Pro Tips for Perfect Ghee
- Use a heavy-bottomed pan — This ensures even heating and prevents burning.
- Skim the foam — Removing the foam keeps the ghee clear and pure.
- Watch it carefully — Ghee goes from perfect to burned in seconds. Stay near the stove and keep an eye on it.
- Let it cool before straining — Hot ghee can crack glass jars. Let it cool slightly before pouring.
- Store in a dry jar — Moisture can cause ghee to spoil. Make sure the jar is completely dry.
What to Use Ghee For
- Drizzling over hot rice or dal
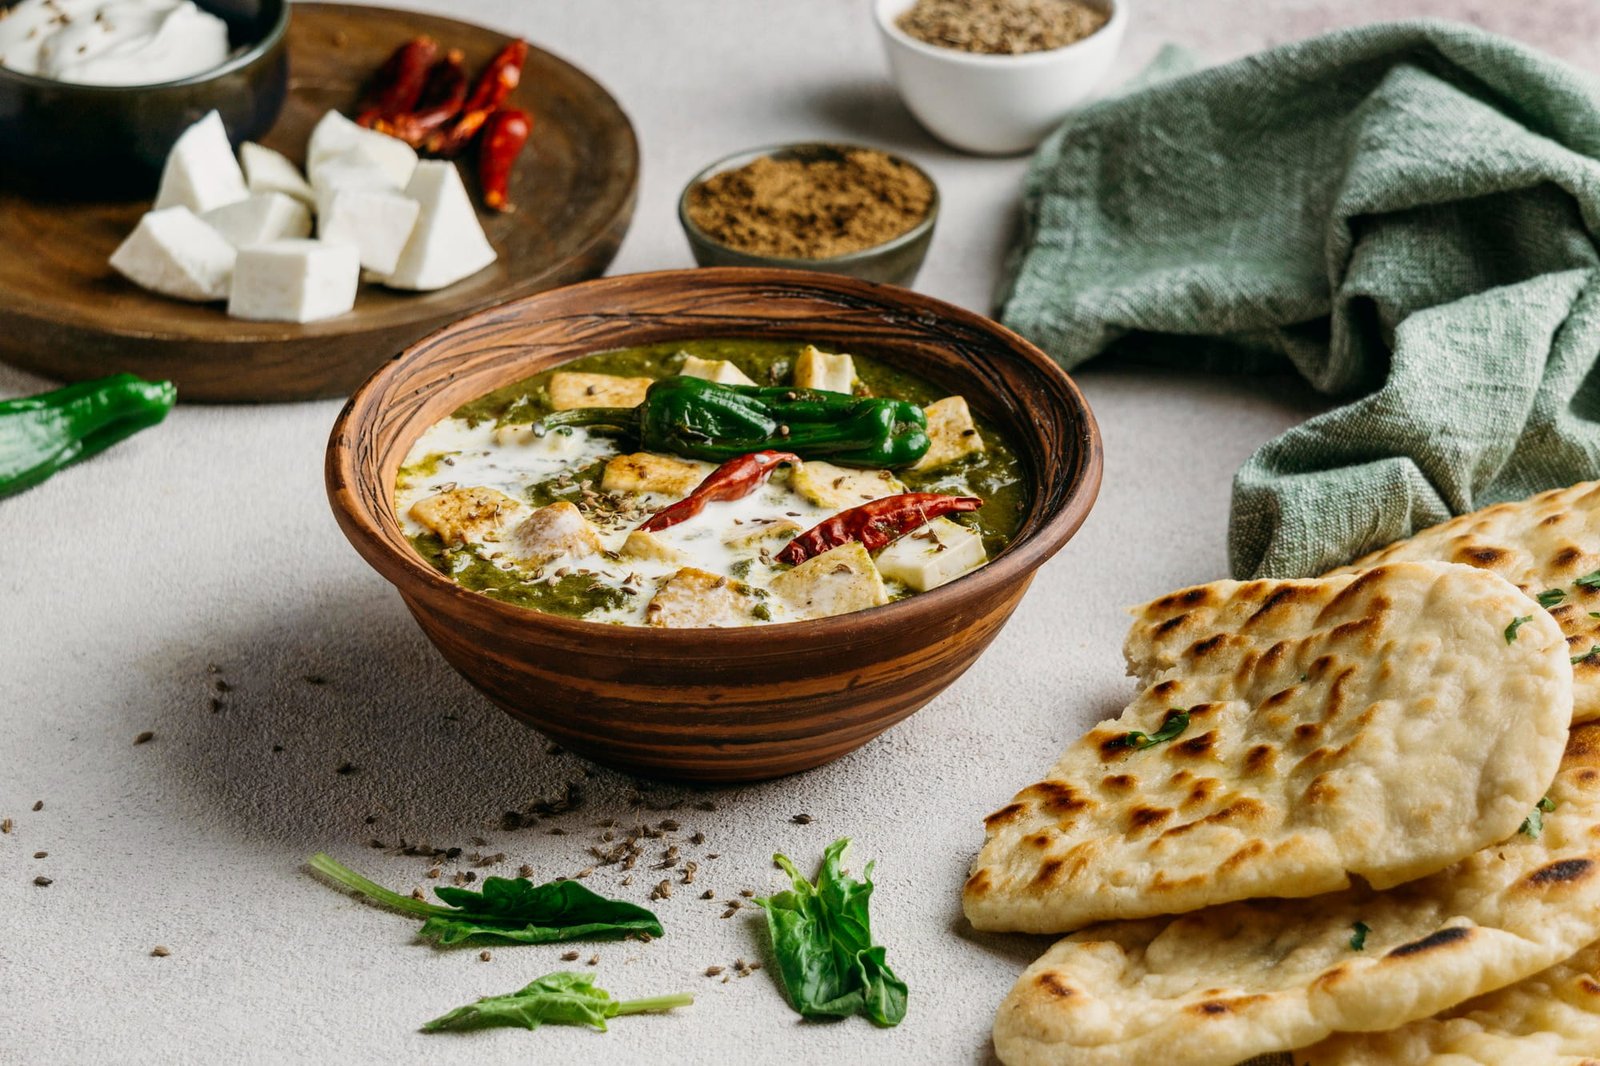
- Cooking curries and stir-fries
- Sautéing vegetables
- Making traditional sweets
- Finishing dishes for added richness
Frequently Asked Questions
Q: What’s the difference between ghee and butter?
A: Ghee is clarified butter with the milk solids removed. This gives it a higher smoke point and a longer shelf life. It also makes it suitable for people who are lactose intolerant.
Q: Why is my ghee cloudy?
A: Cloudy ghee usually means there’s still moisture in it. Make sure to cook it until the bubbling stops completely.
Q: Can I use salted butter?
A: You can, but it will make the ghee salty. Unsalted butter is preferred.