Master the art of making perfectly crispy, golden dosas at home. This step-by-step guide covers everything from fermenting the batter to achieving that signature crunch.
Introduction
There’s something magical about a perfectly made dosa. Crispy, golden, and lightly tangy, it’s the kind of food that feels like a celebration. Whether you’re enjoying it with a bowl of sambar, a dollop of coconut chutney, or simply on its own, a good dosa is unforgettable.
But making dosas at home can be intimidating. Many people struggle with batter that doesn’t ferment properly, dosas that stick to the pan, or that elusive crispiness that seems impossible to achieve. The good news? With the right technique and a little practice, anyone can make restaurant-quality dosas at home.
I’ve tested this recipe over and over in my kitchen, tweaking the ratios, perfecting the fermentation, and mastering the technique. Now I’m sharing everything I’ve learned so you can enjoy crispy, golden dosas at home.
Why This Recipe Works
This dosa recipe has been tested in my kitchen more times than I can count. Here’s why it works:
The ratio of rice to urad dal creates the perfect texture — crispy on the outside, soft on the inside. The fermentation process is clearly explained, with tips for every season. The batter consistency is just right — not too thick, not too runny. And the cooking technique ensures that every dosa turns out golden and crisp.
Ingredients
For the Batter
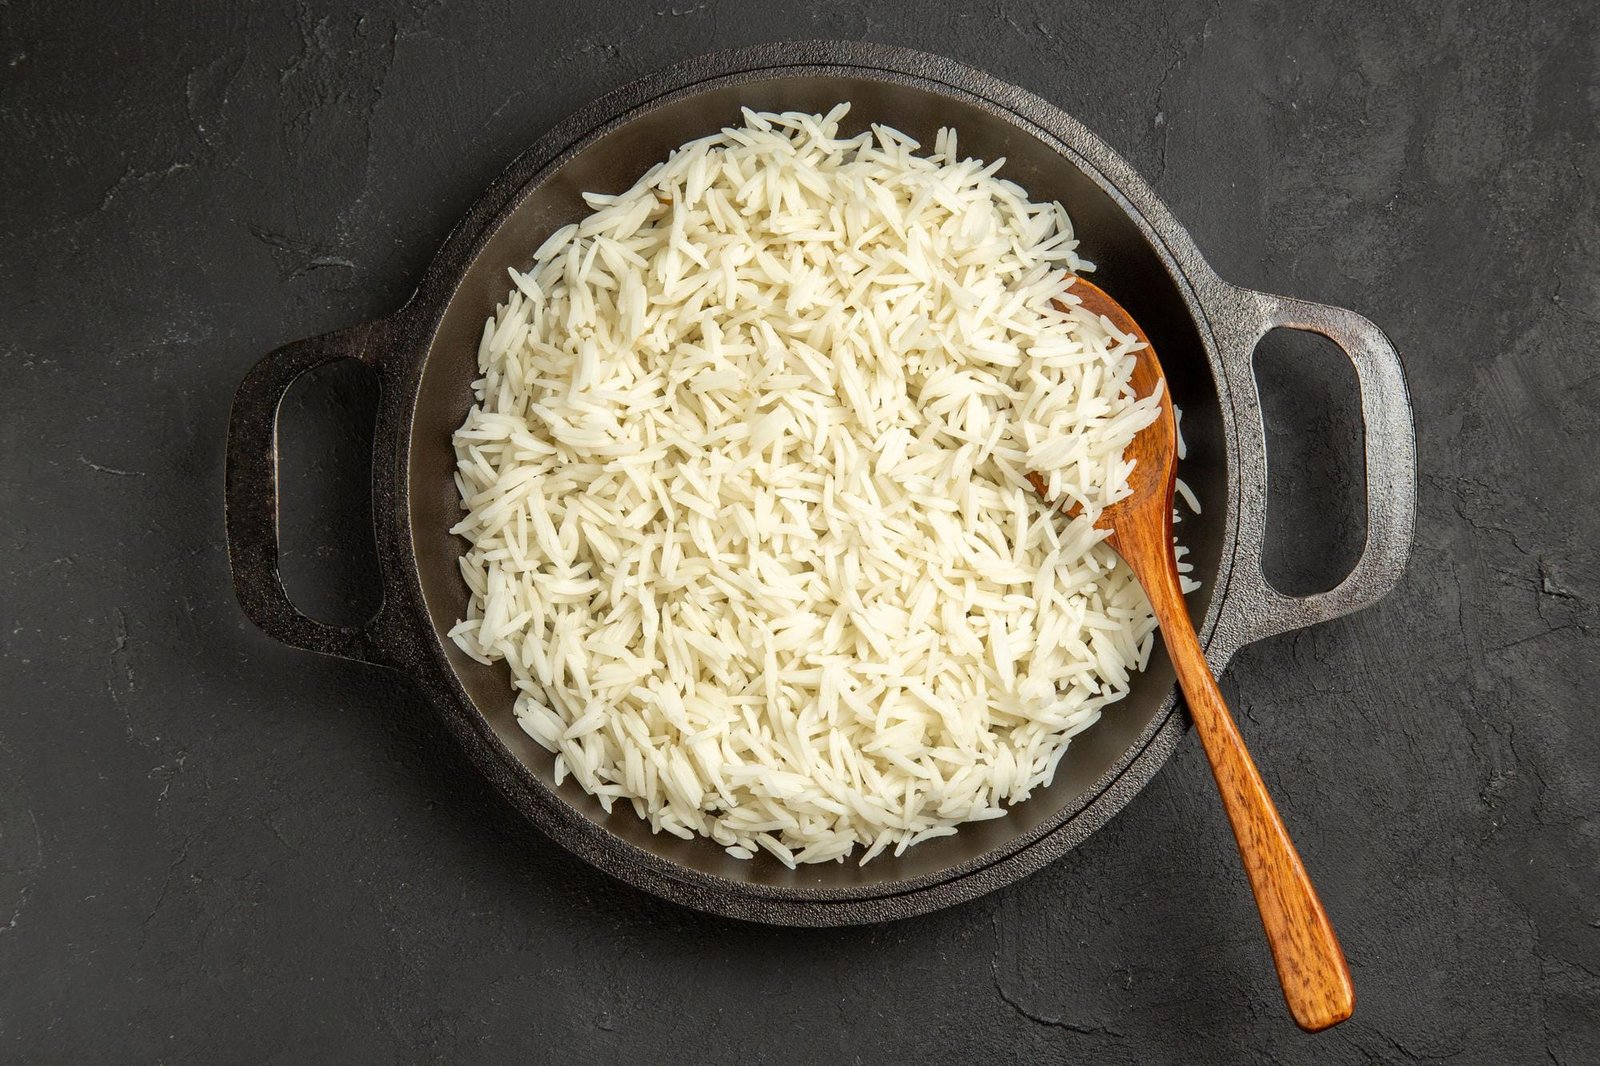
- 2 cups idli rice (or parboiled rice)
- 1/2 cup whole urad dal (skinned, without husk)
- 1/2 teaspoon fenugreek seeds (optional, but recommended)
- Water for soaking and grinding
- Salt, to taste
For Cooking
- Oil or ghee for greasing the pan
- A flat, non-stick or cast-iron tawa (griddle)
Step-by-Step Instructions
Step 1: Soak the Ingredients
Wash the idli rice and urad dal separately under running water until the water runs clear. In a large bowl, soak the rice in enough water to cover it completely. Add the fenugreek seeds to the rice while soaking. In another bowl, soak the urad dal in enough water to cover it.
Soak both for at least 4 to 6 hours, or overnight. The longer they soak, the softer the dal and rice become, which helps in grinding and fermentation.
Step 2: Grind the Batter
Drain the water from the urad dal and transfer it to a wet grinder or blender. Grind it to a smooth, fluffy paste, adding water little by little as needed. The urad dal batter should be light and airy — almost like whipped cream.
Transfer the urad dal batter into a large bowl. Now drain the rice and grind it to a slightly coarse batter. It doesn’t need to be as smooth as the dal batter — a little texture is good. Add water gradually and grind until you have a smooth, flowing consistency.
Once both are ground, mix them together in a large bowl. Add salt and stir well. The final batter should be thick but pourable — not too runny.
Step 3: Ferment the Batter
Cover the bowl with a lid or a clean cloth and place it in a warm spot to ferment. The fermentation time depends on the temperature:
- In warm weather (summer): 6 to 8 hours
- In cooler weather (winter): 12 to 16 hours
The batter is ready when it has doubled in volume and has a slightly sour, pleasant aroma. You’ll also see small bubbles on the surface. If it’s too thick, you can gently stir in a little water to adjust the consistency.
Step 4: Prepare the Tawa
Heat a tawa or flat griddle over medium heat. Once it’s hot, lower the heat slightly and brush a little oil or ghee on the surface. A well-seasoned cast-iron tawa works beautifully, but a non-stick pan also works well.
Step 5: Spread the Batter
Take a ladleful of the fermented batter and pour it onto the center of the tawa. Using the back of the ladle, spread the batter in a circular motion, starting from the center and working outward. The thinner you spread it, the crispier your dosa will be. For a thicker, softer dosa, spread it less.
Step 6: Cook the Dosa
Drizzle a little oil or ghee around the edges of the dosa. Cook until the edges start to lift and turn golden brown. The center should be cooked through and lightly browned. This usually takes about 2 to 3 minutes.
Step 7: Flip and Serve
Gently flip the dosa and cook the other side for about 30 seconds. Remove from the pan and serve hot with coconut chutney, sambar, or any side of your choice.
Pro Tips for Perfect Dosas
- Ferment the batter well — Good fermentation is the key to soft, crispy dosas.
- Spread evenly — A thin, even layer ensures the dosa cooks uniformly.
- Don’t overcrowd the pan — Cook one dosa at a time for the best results.
- Use a well-seasoned pan — A seasoned tawa or non-stick pan makes all the difference.
- Adjust the heat — Too low, and the dosa becomes rubbery. Too high, and it burns before cooking through.
What to Serve With Dosas
- Coconut chutney — fresh, creamy, and tangy
- Sambar — warm, spicy lentil stew
- Tomato chutney — tangy and flavorful
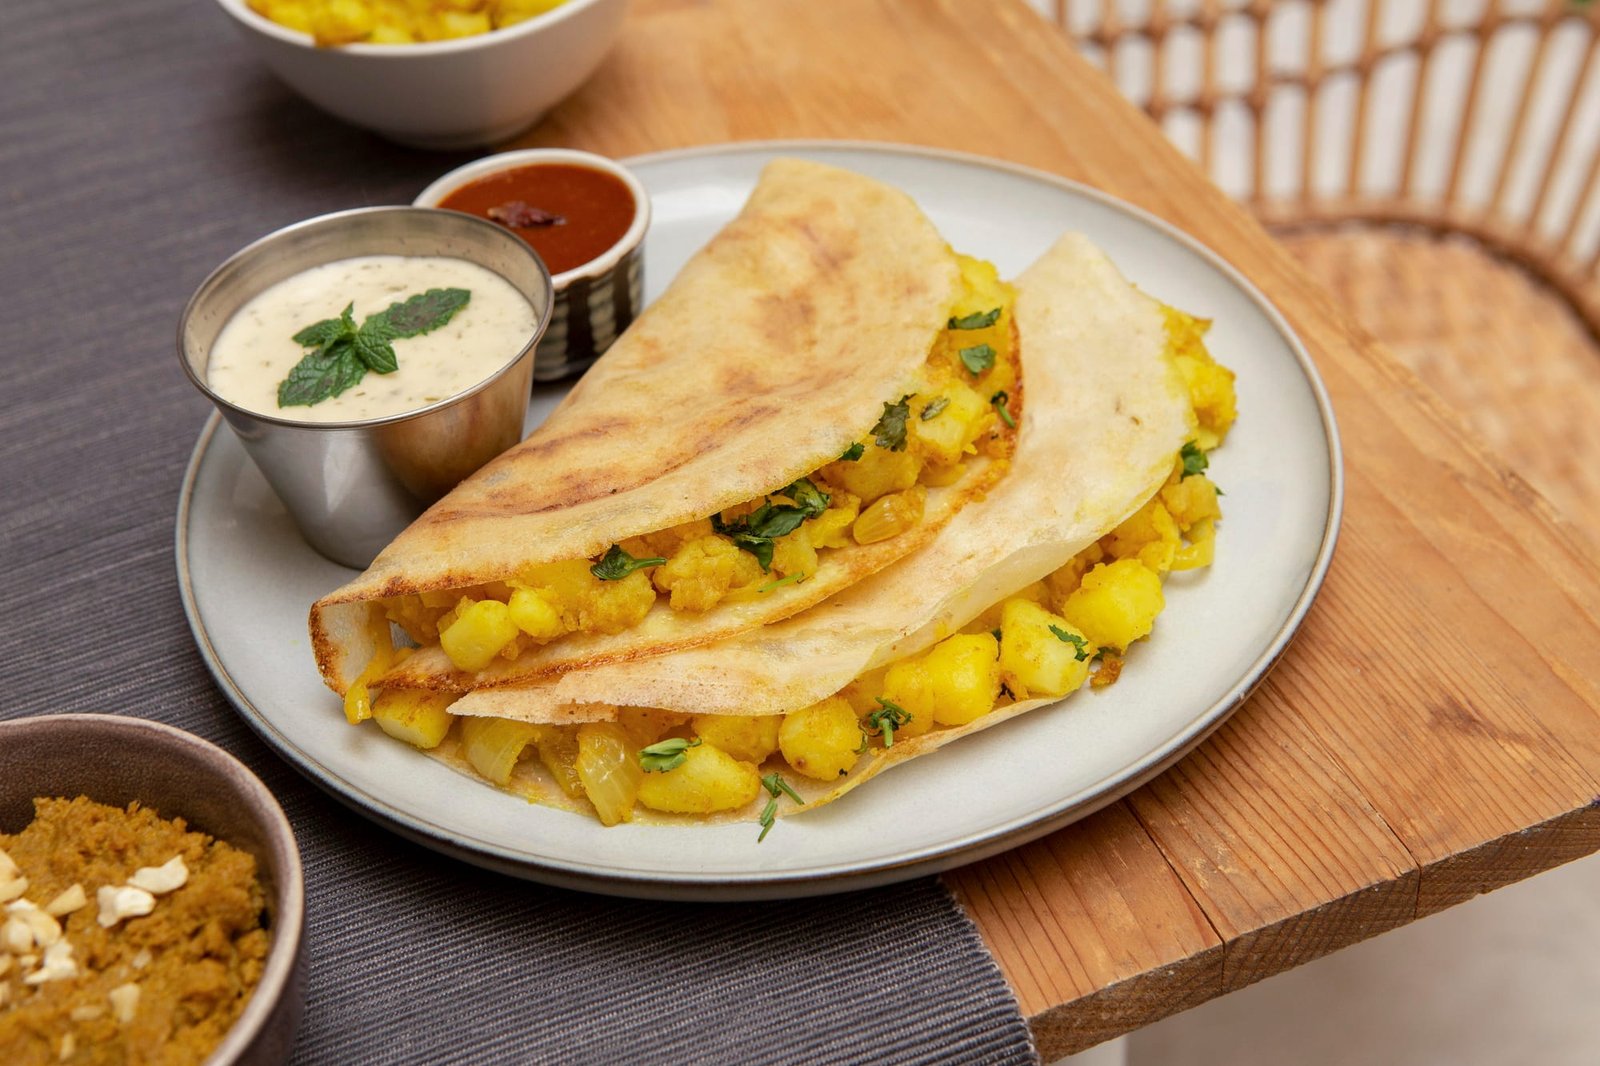
- Potato filling — for a classic masala dosa
Frequently Asked Questions
Q: Why are my dosas not crispy?
A: This usually happens when the batter is too thick, or the pan is not hot enough. Try spreading the batter thinner and increasing the heat slightly.
Q: Can I use regular rice instead of idli rice?
A: Yes, but idli rice or parboiled rice gives the best texture. Regular rice can work but may not be as crispy.
Q: How do I store leftover dosa batter?
A: Store it in an airtight container in the refrigerator for up to 2 to 3 days. Bring it to room temperature before using.